


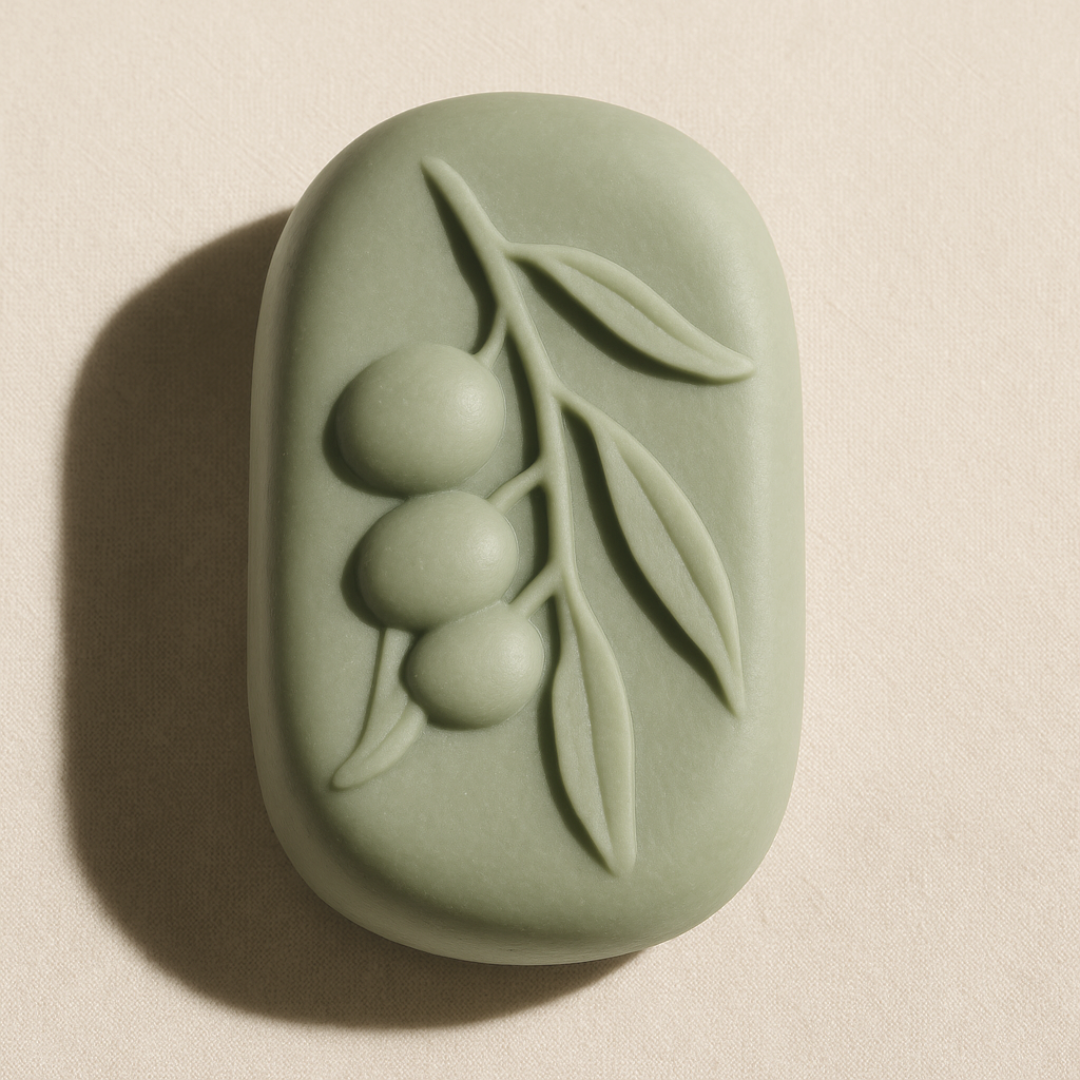
Bath Bomb Starter Bundle - Instructions
🛡️ Safety & Storage
IMPORTANT: Do not exceed 6 drops of essential oil per bath bomb (or per 120g of product — the mould will yield a 120g bath bomb).
- Always store finished bombs in a cool, dry place, away from humidity. (A sealed container is recommended)
- Make sure moulds and tools are completely dry before starting.
- Avoid direct skin contact with undiluted essential oils.
- Use bath bombs within 2–4 months for best performance.
- If a bomb develops spots, softness, or clumping, discard and make a fresh batch.
- For children or sensitive skin, use fewer drops of essential oil per batch.
🌿 How it Works + Tips
Your bath bomb kit is designed to be fun, flexible, and customisable. Here’s how to get the most from it:
- Start small — make a few test bombs first to check your scent, colour, and texture before committing to a big batch.
- Adjust to your needs — add more carrier oil for a softer, more conditioning bomb, or keep it lighter for a fizzier finish.
- Play with textures — clays add creaminess, botanicals add a spa-like look, and colours give that wow factor. Use them one at a time or together.
- Mix + match oils — try different essential oils or blends depending on your mood (calming, energising, refreshing).
- Less is more with oils — never exceed 6 drops of essential oil per 120g bath bomb. Start light; you can always adjust in your next batch.
- Keep notes — write down your favourite colour + scent + add-in combinations so you can recreate them later.
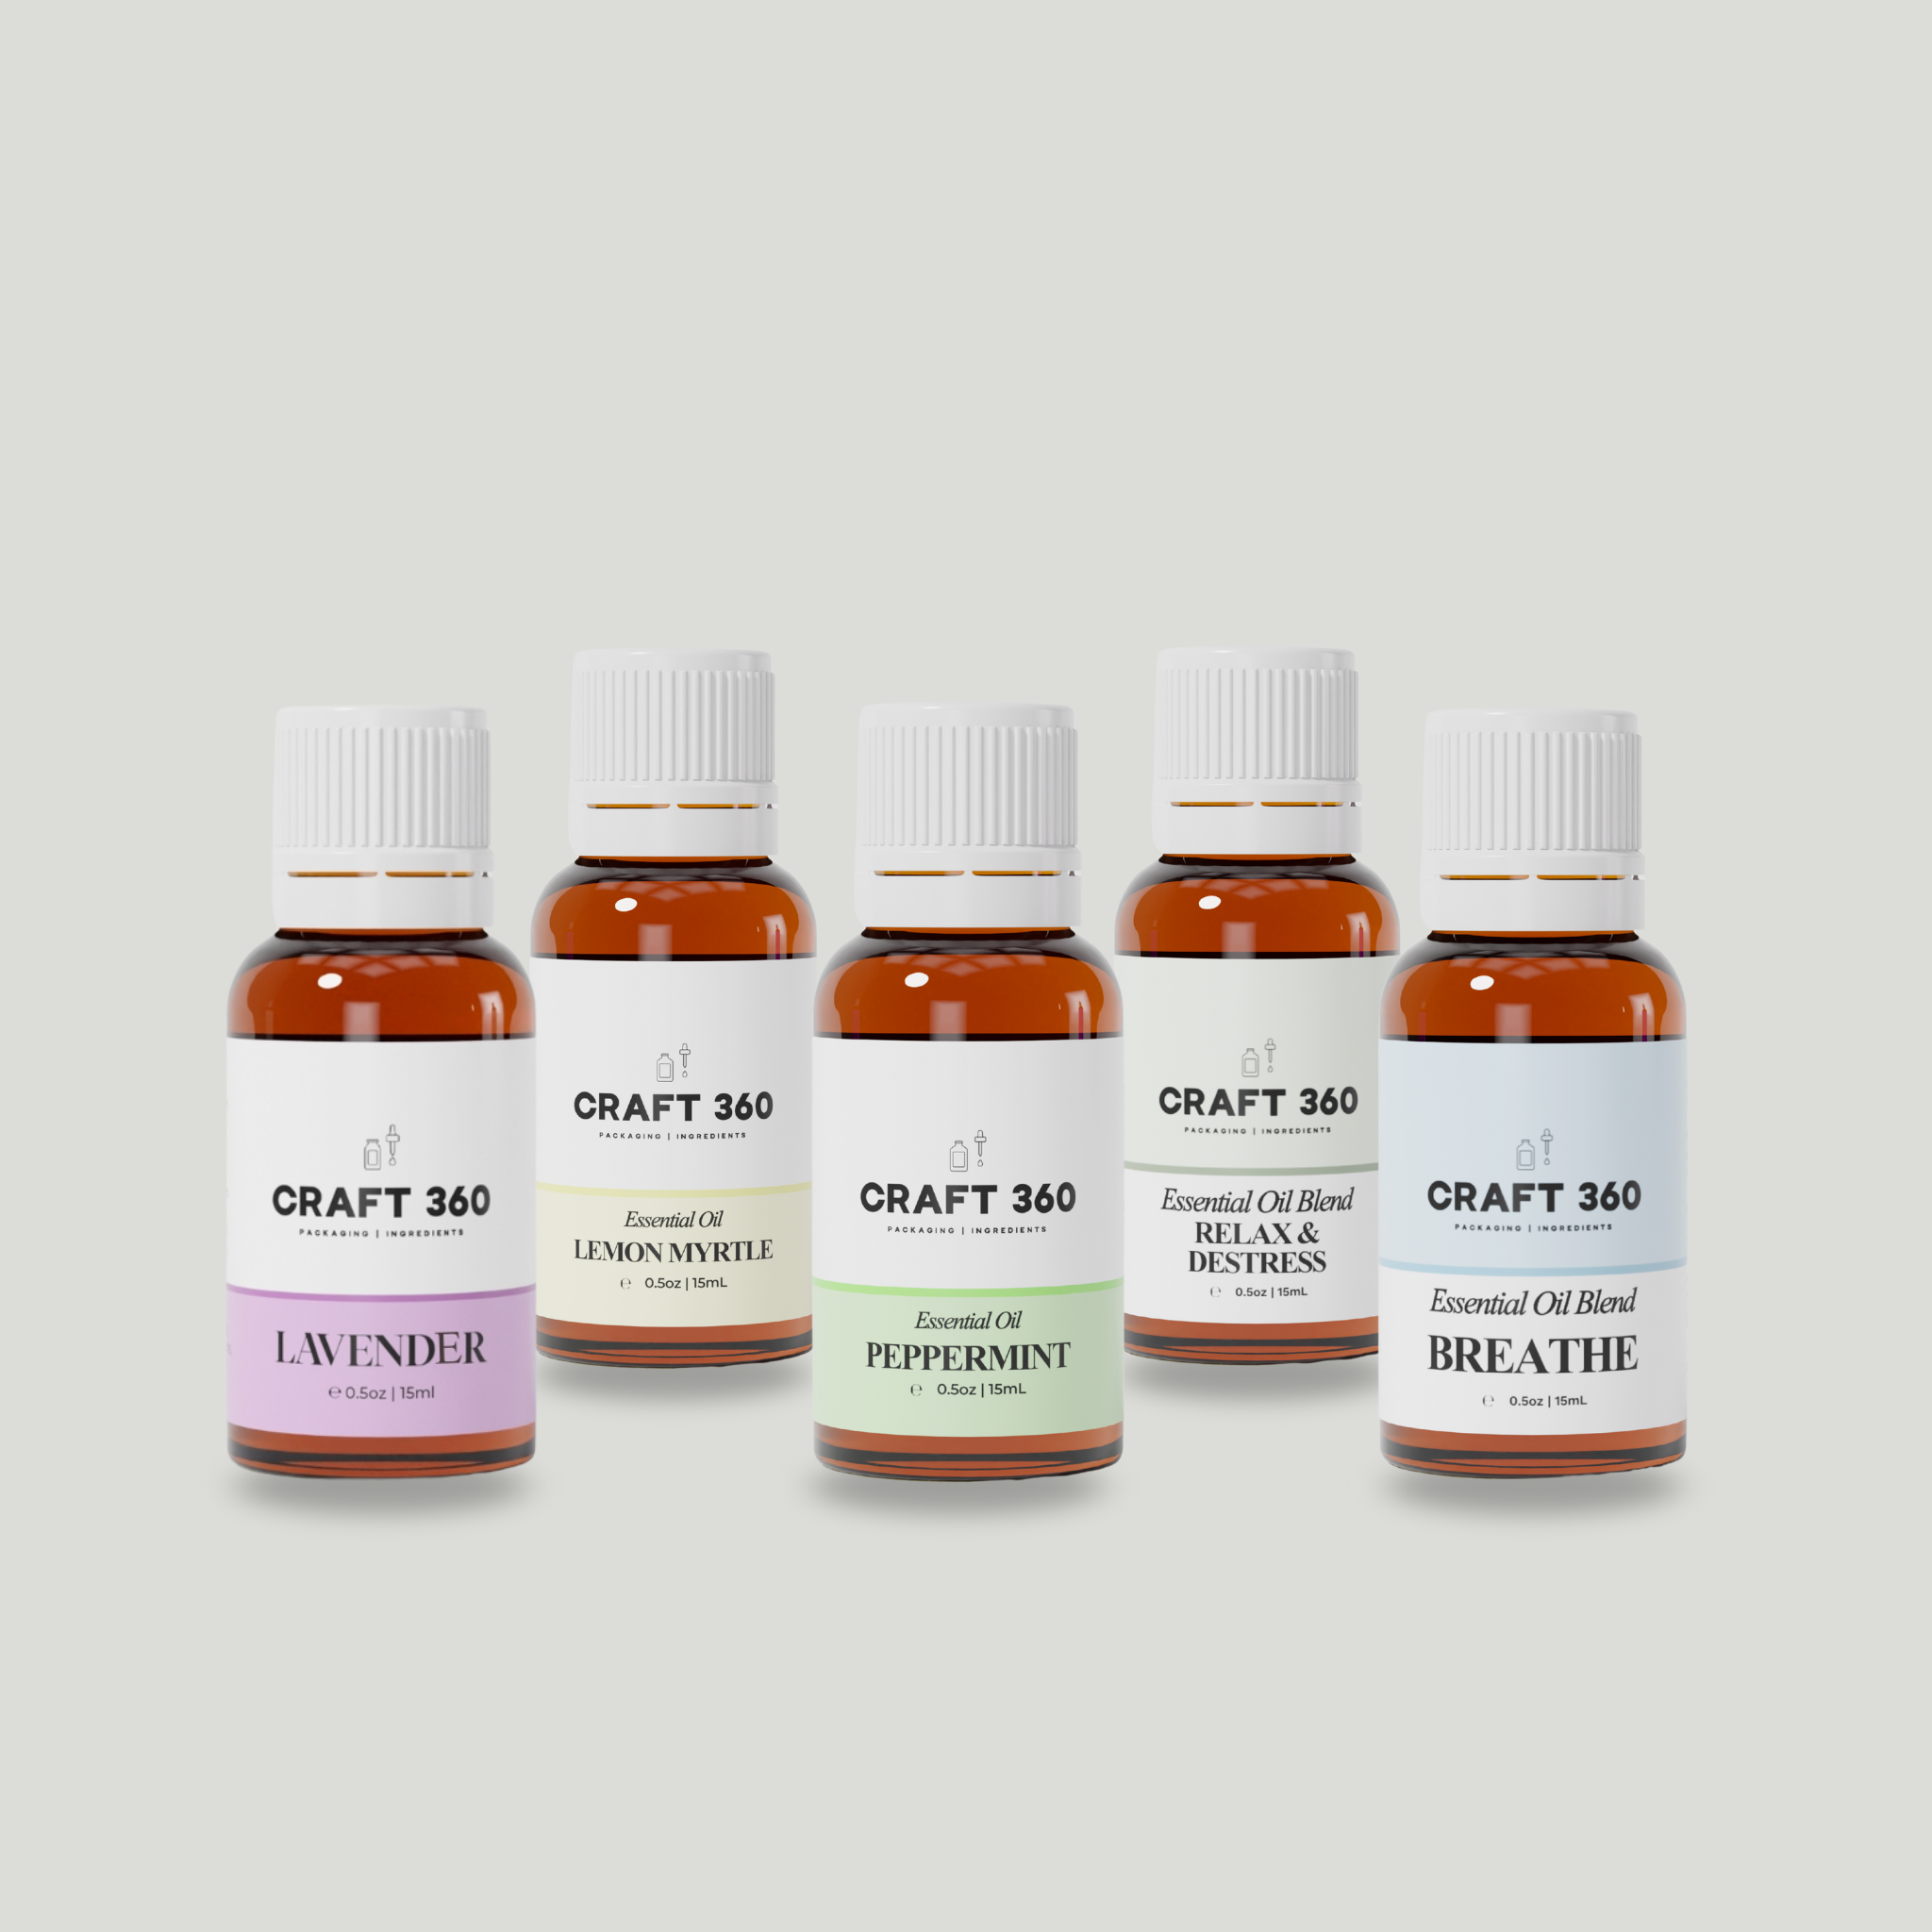
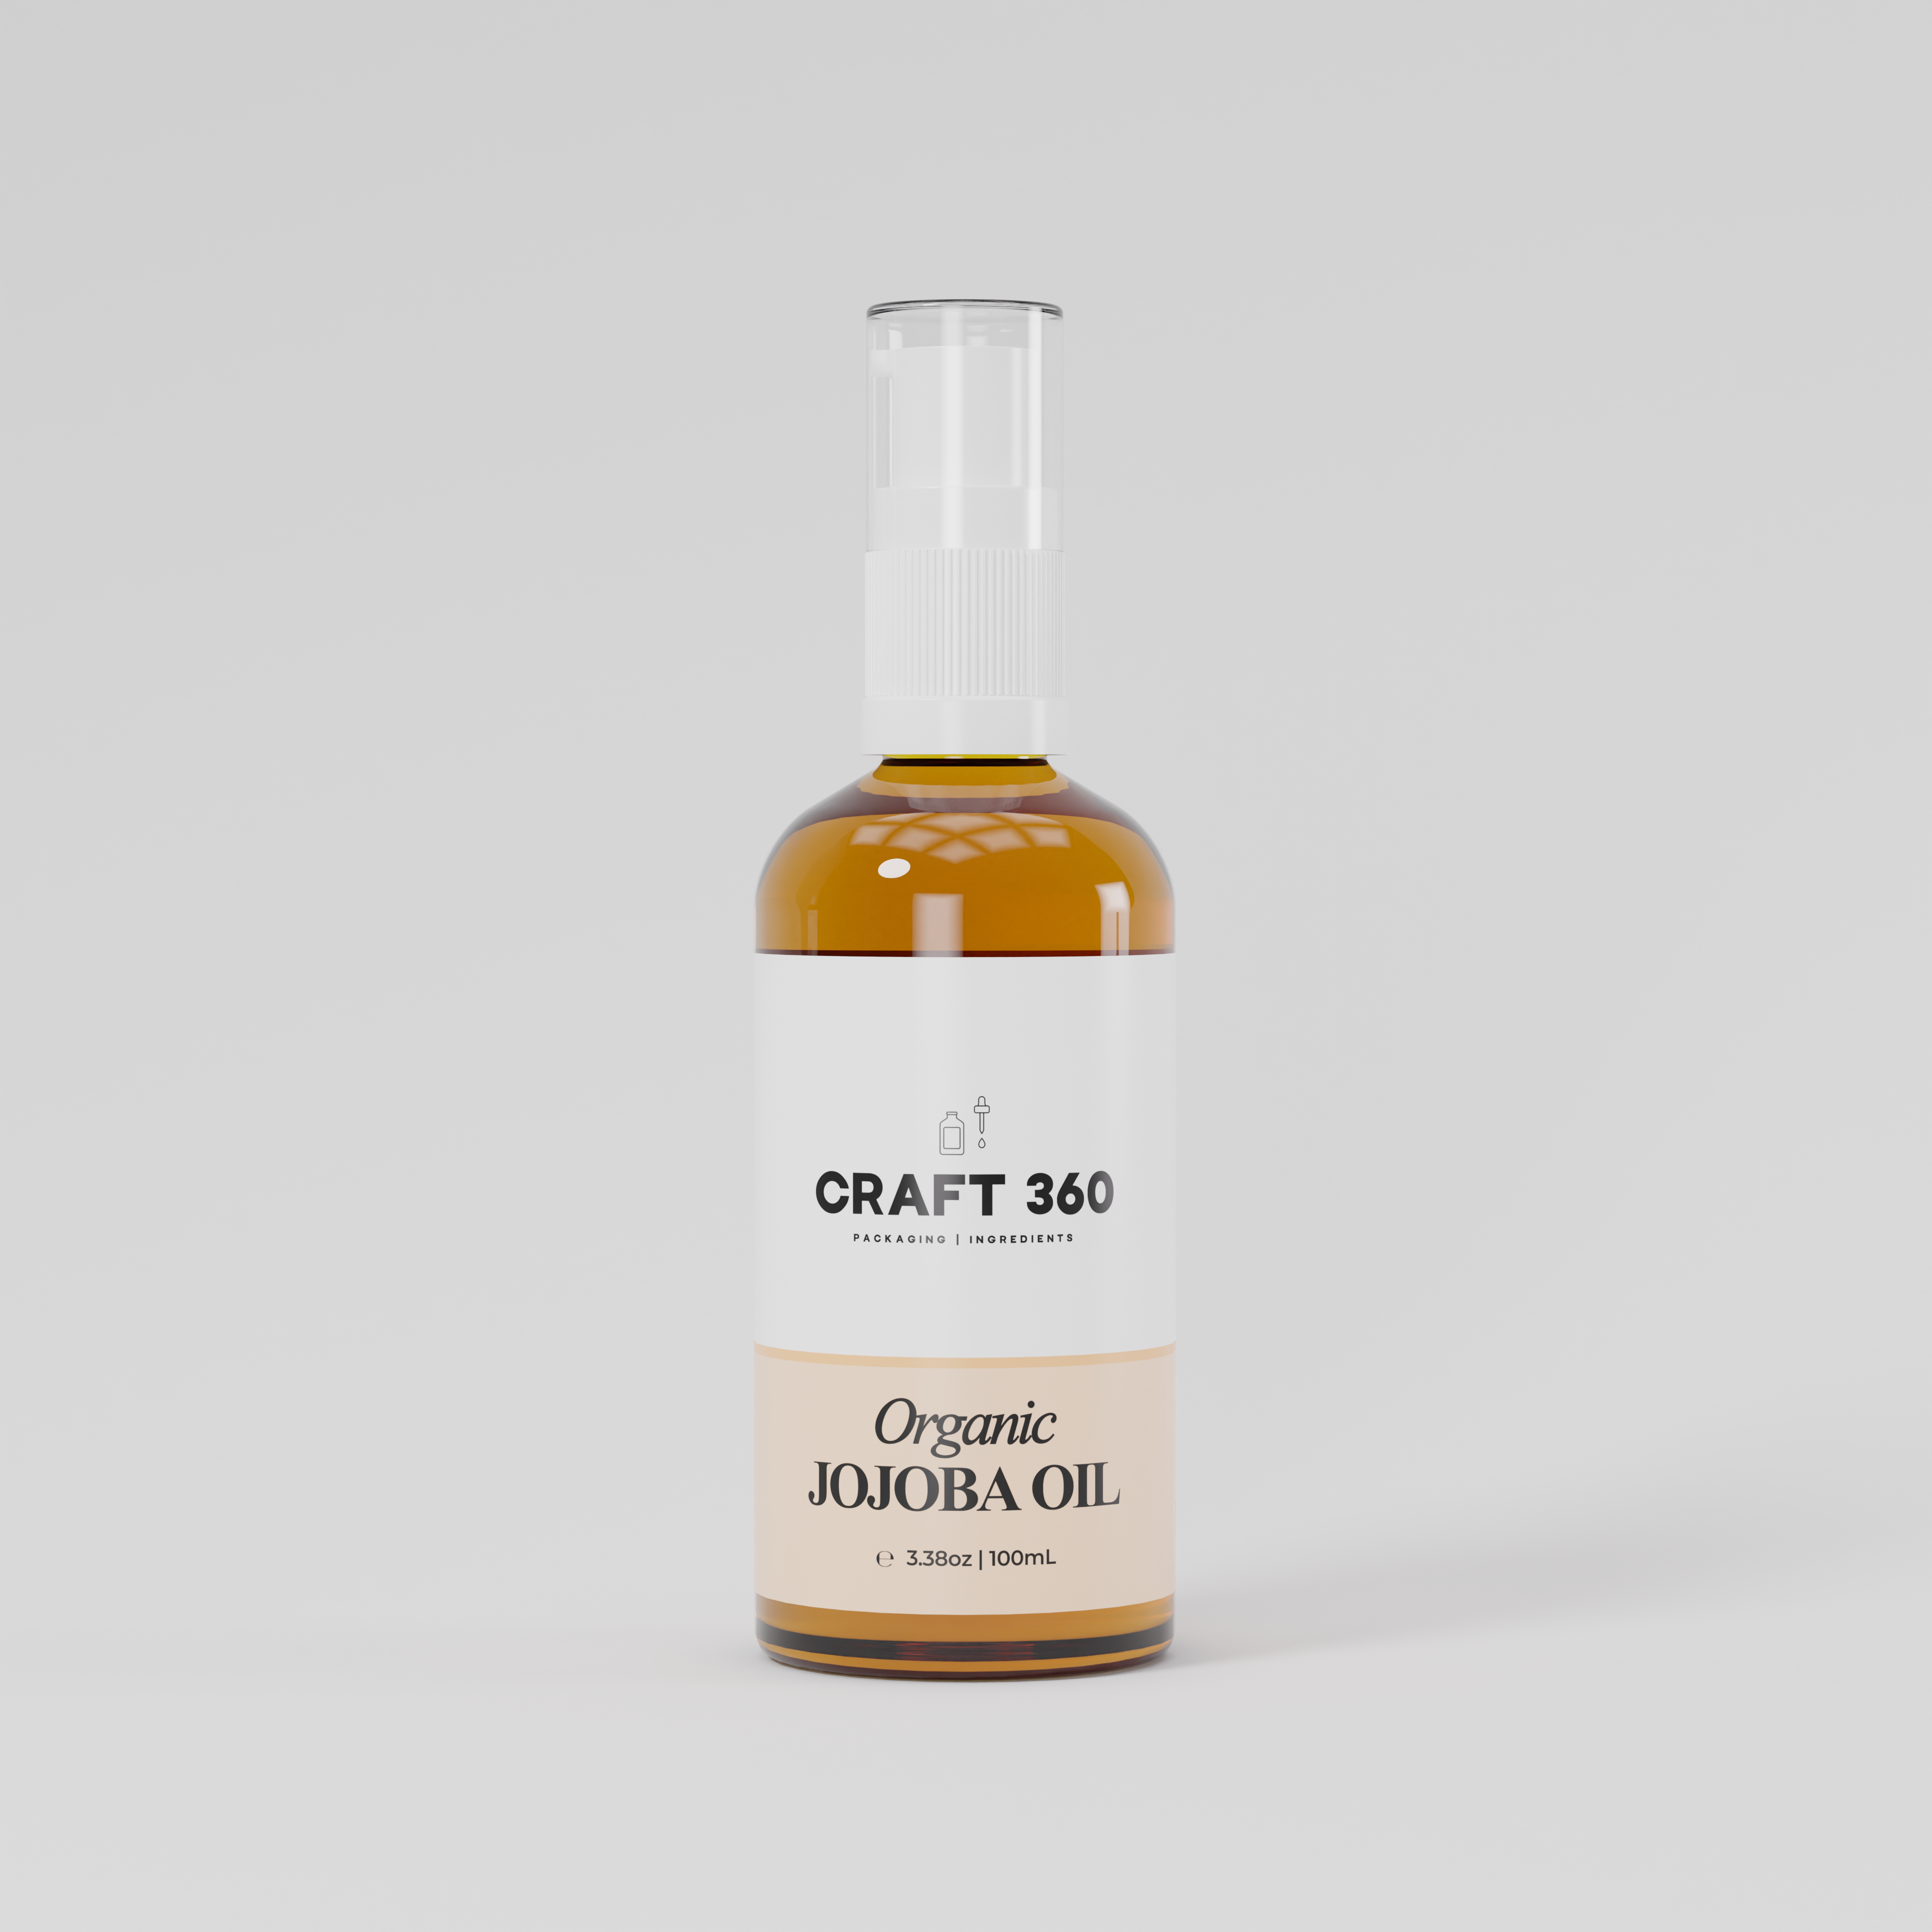
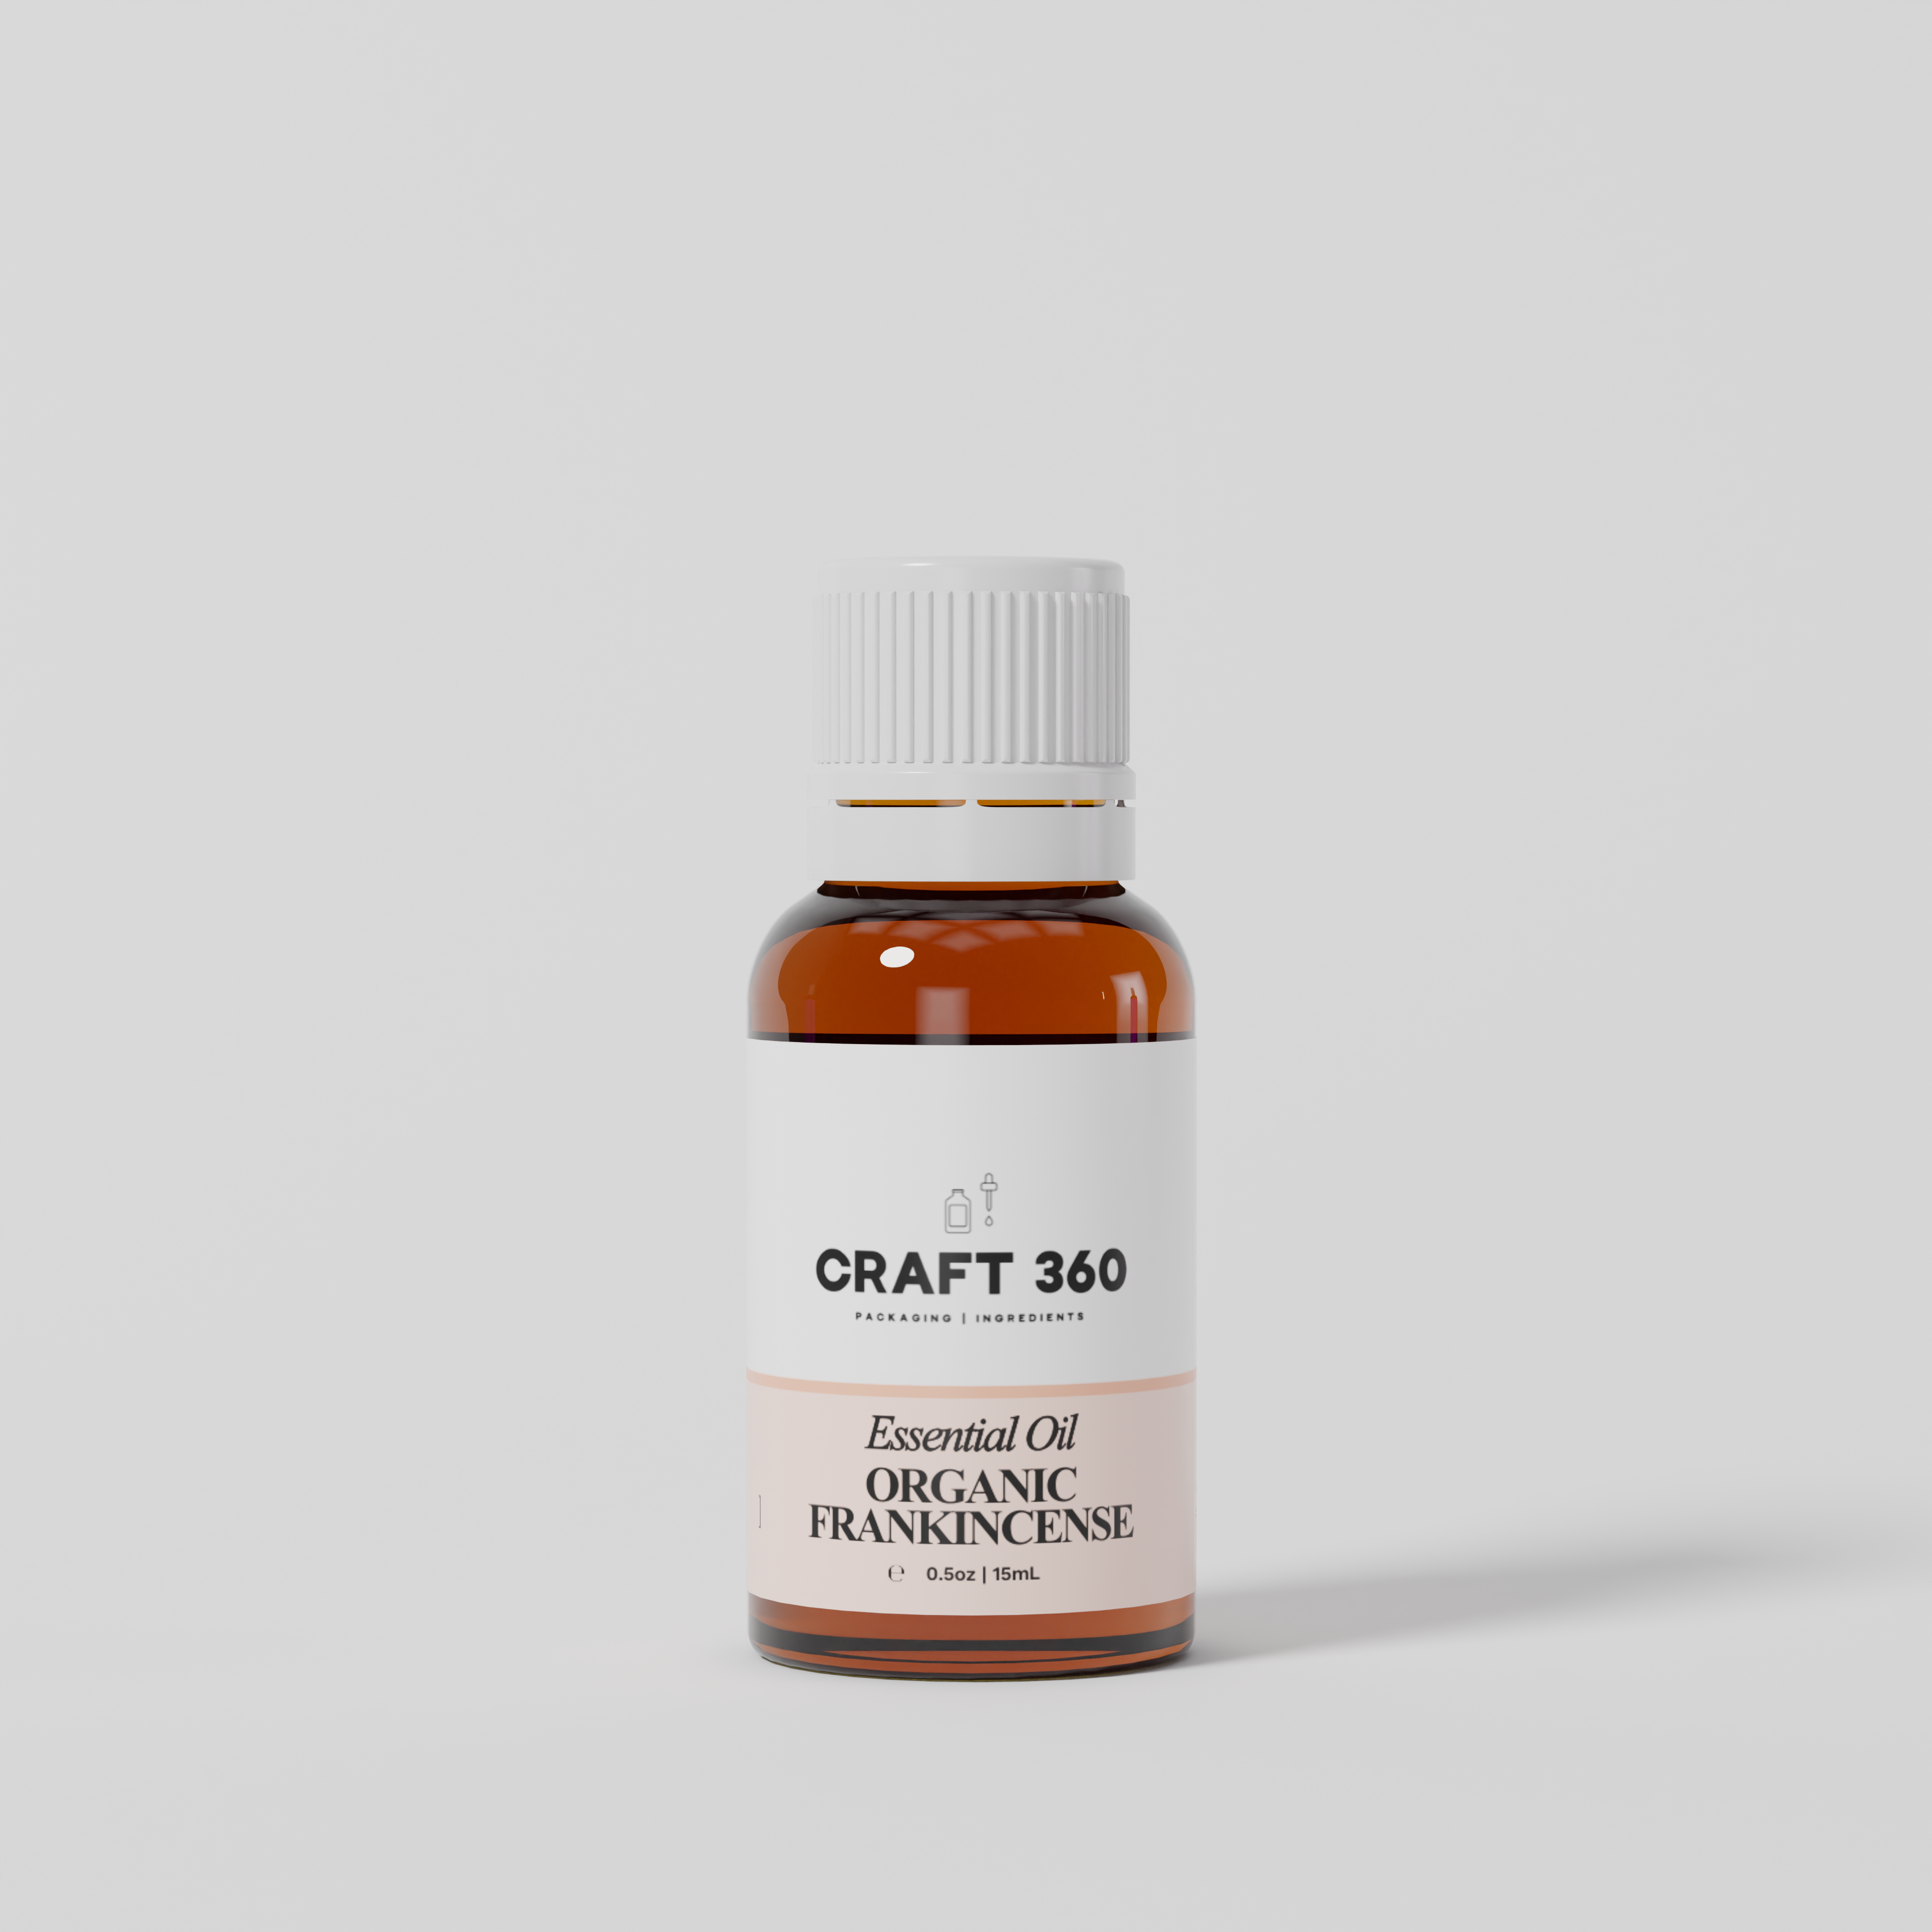
What’s in your kit (ingredients)
- Bicarb Soda — 1.4kg
- Citric Acid — 1.4kg
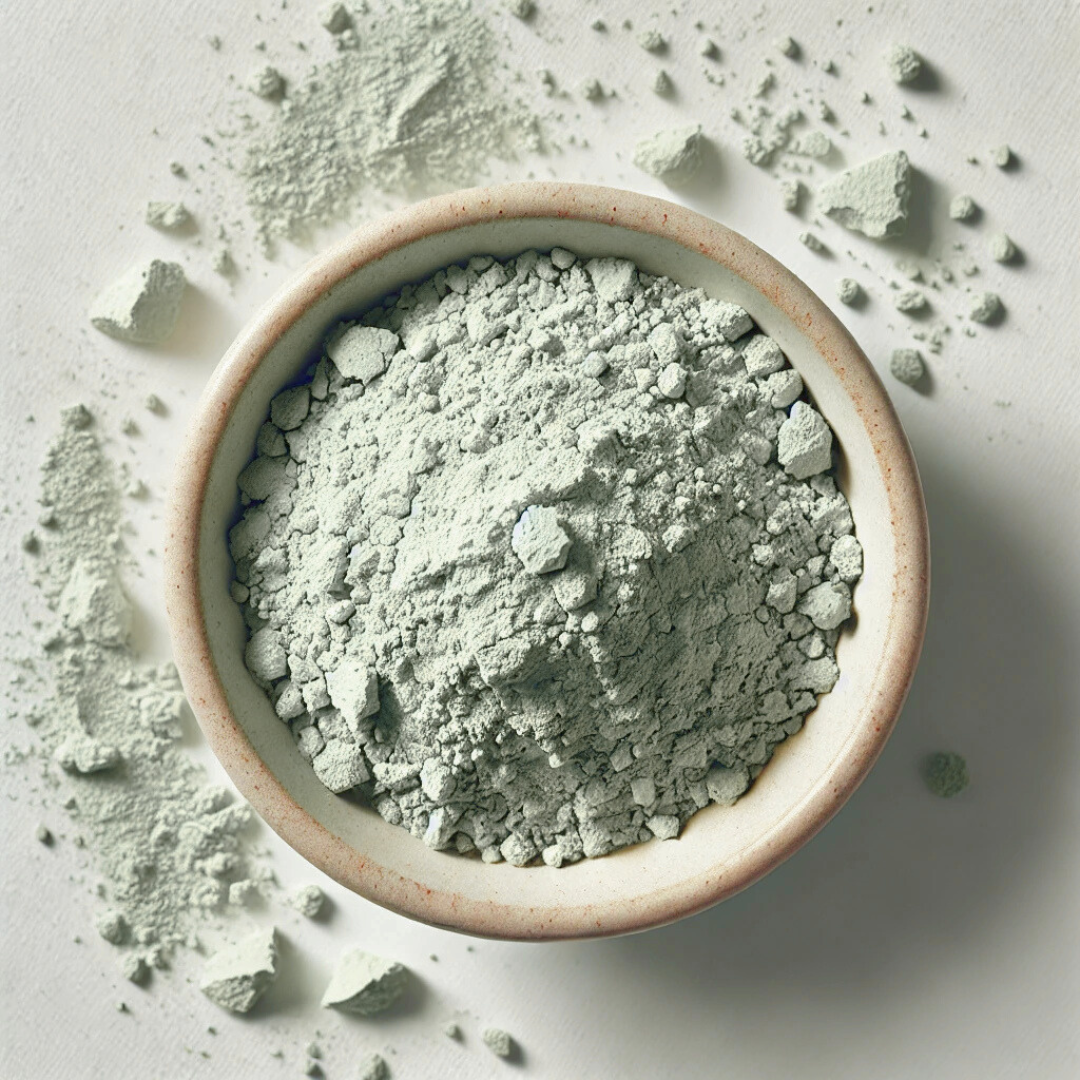
- Clay — 100g
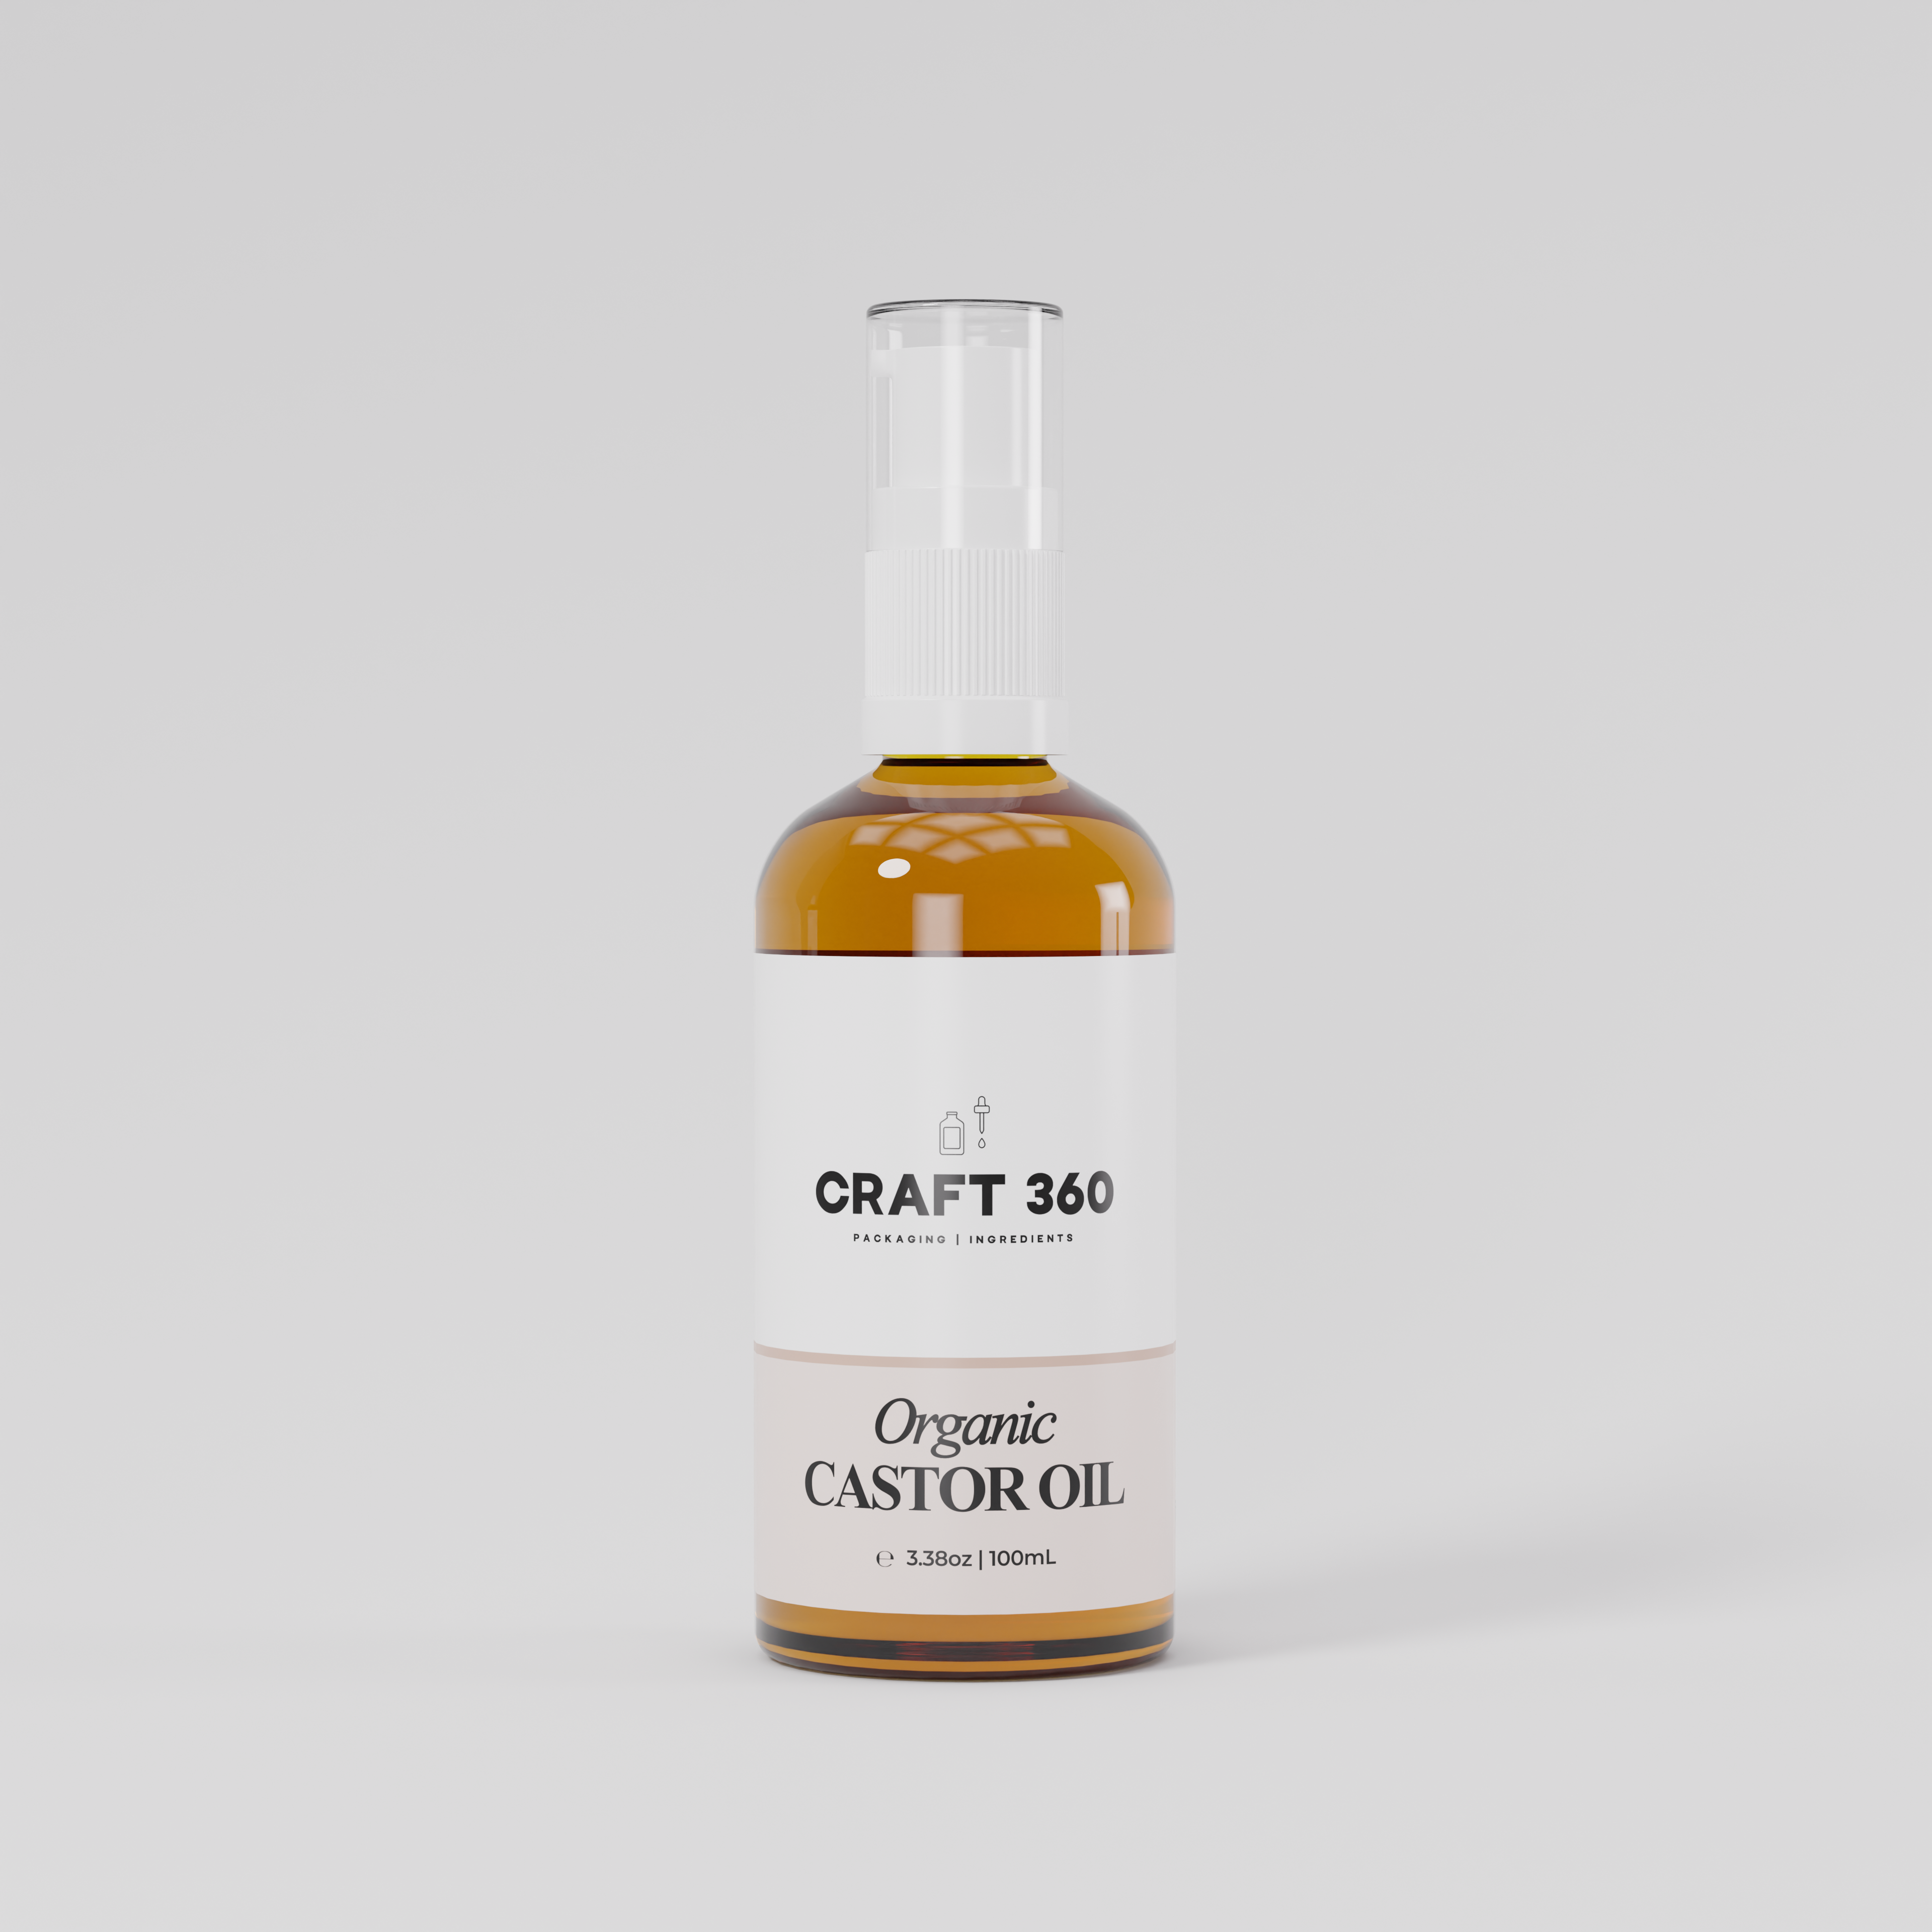
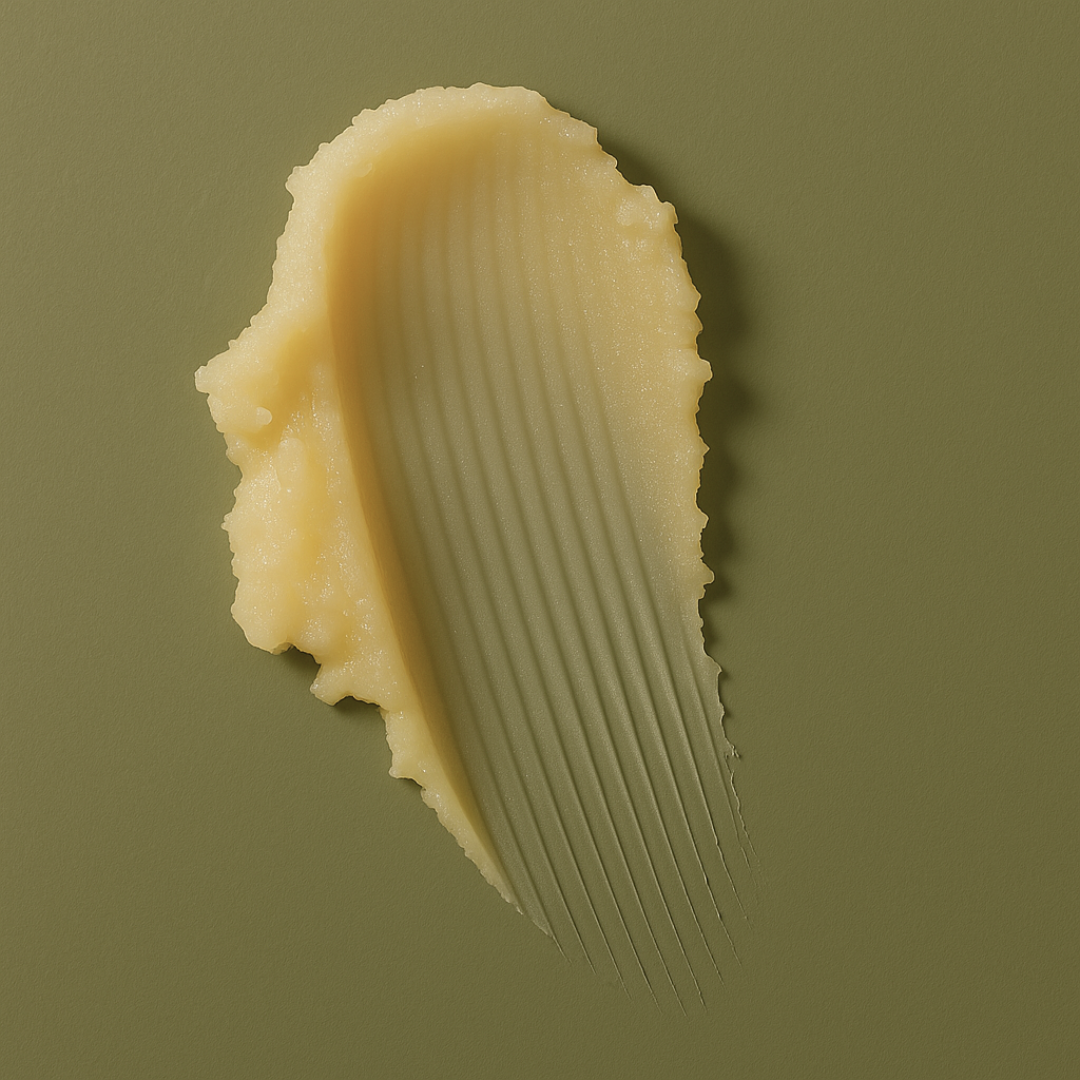
- Carrier Oil — 100ml
- Carrier Oil — 100ml
- Essential Oil — 15ml
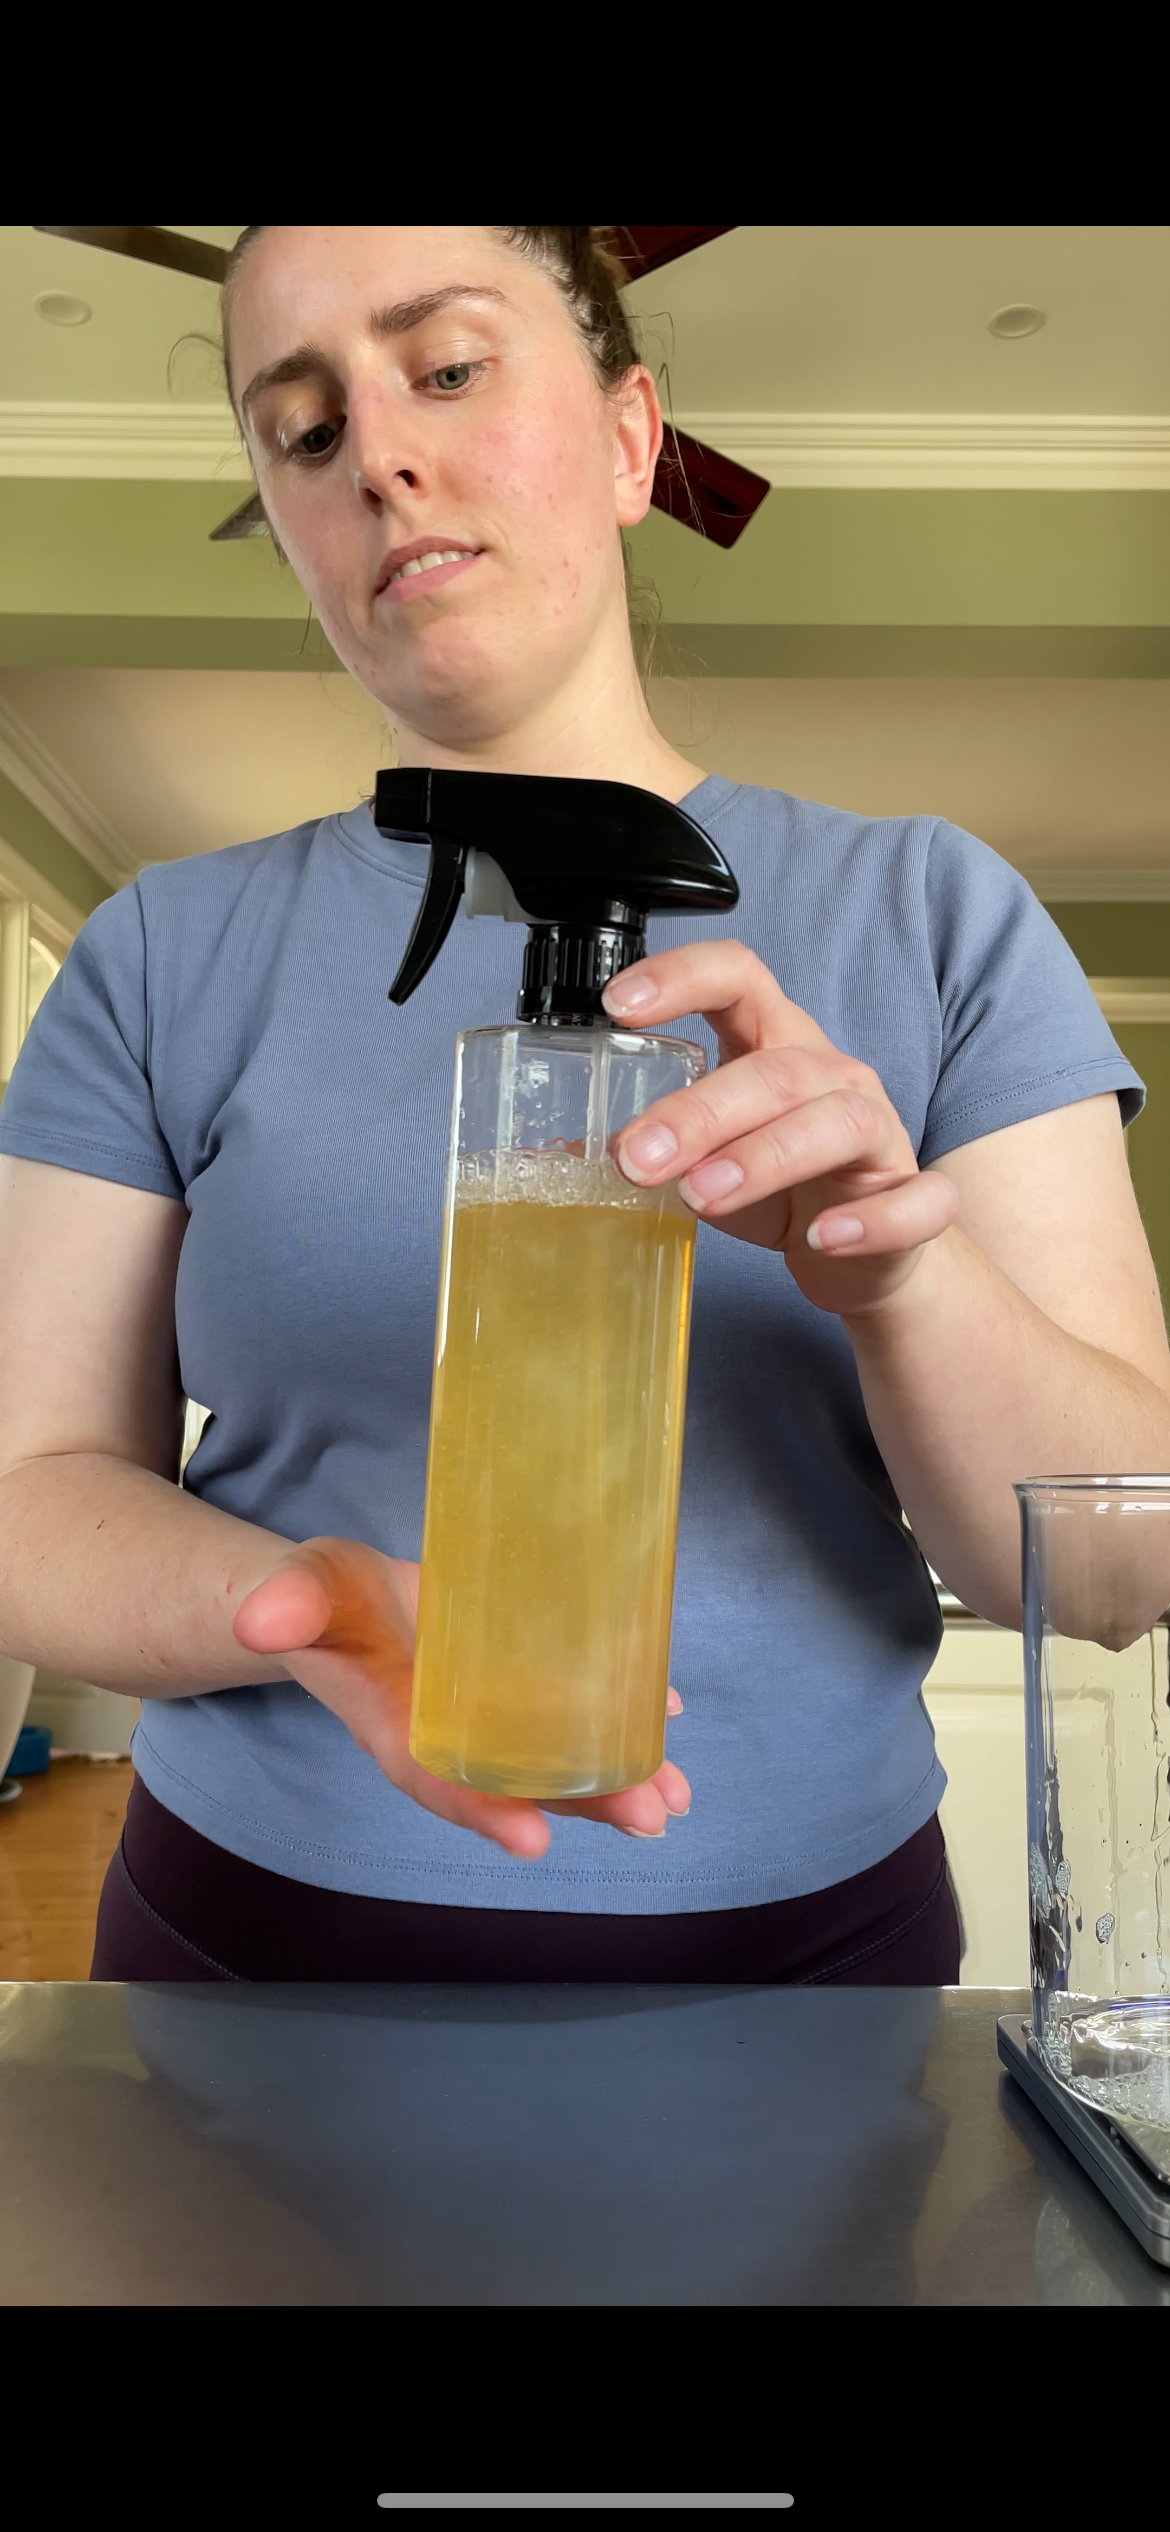
- Spray Bottle — 30ml (for water)
- Metal Mould — 120g size
- Colourants — Optional
- Essential Oil — 15ml - Optional secondary oil
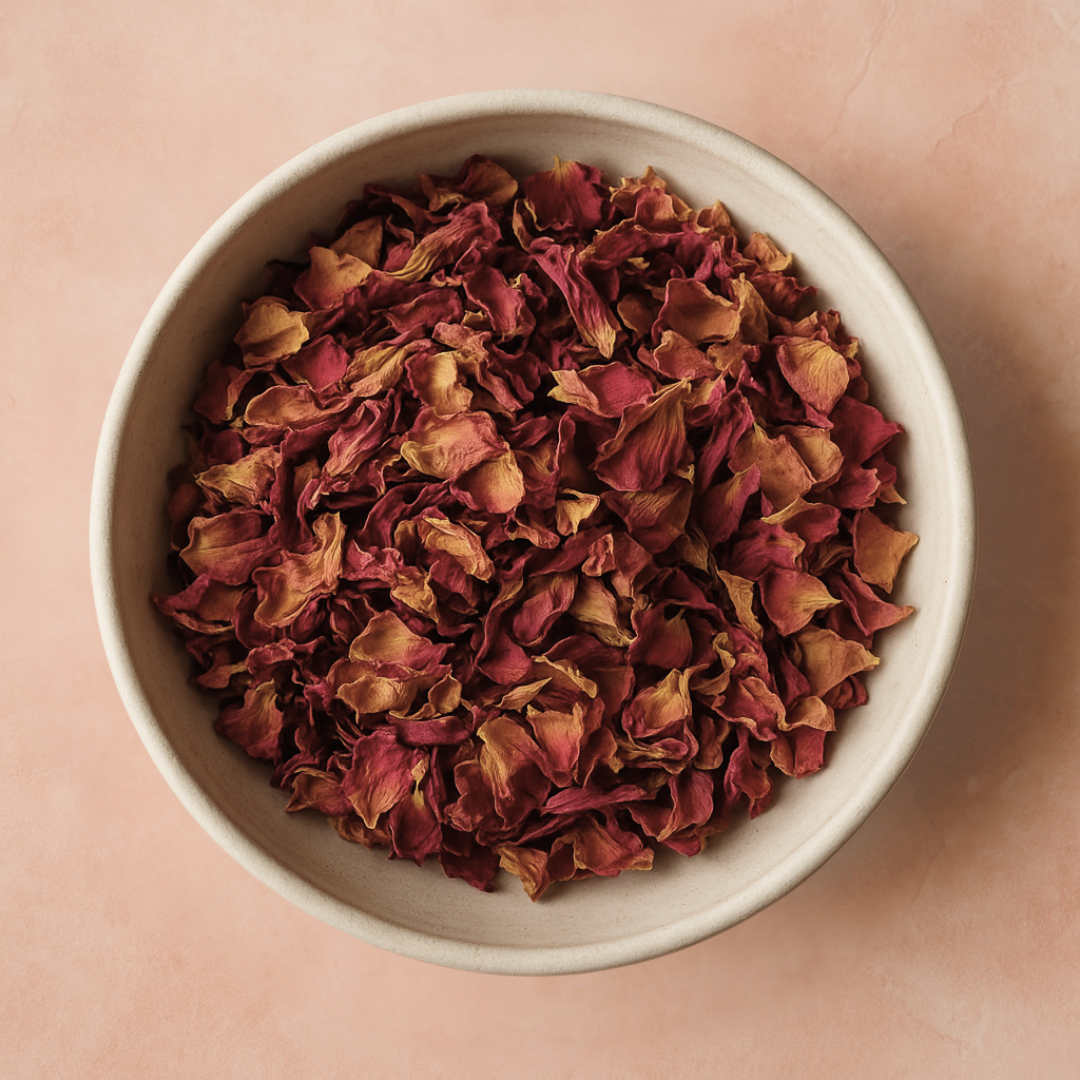
- Botanicals — Optional
BYO (you provide)
- Gloves (recommended for handling powders)
- Large mixing bowl
- Spatula, whisk or a spoon for mixing
- Airtight containers or bags for storage
- Clean, dry surface or tray for drying bombs
❓ How many bath bombs will this get me?
- If following this recipe, this bundle will yield around 19 Bath Bombs.
- You will also have around 700g of Citric Acid, some of your carrier oil and most of your Essential Oils left over, ready for future projects.
✨ Basic Bath Bomb Recipe
Before making a full batch, we recommend starting with 2–3 bath bombs to test your scent strength, colour, and texture. Small batches also help keep your creations fresher.
Below is a recipe for 3 Bath Bombs. If you wish to make more, simply double or triple the contents.
Test Batch Ratio (for ~3 x 120g bombs):
- (60%) 216g Bicarb Soda
- (30%) 108g Citric Acid
- (4.5%) 16g Clay
- (5.5%) 20g Carrier Oil
- 5–18 drops Essential Oil (Do not exceed 6 drops per bath bomb / 120g of mixture)
- Light water mist as needed
Follow the method below.
✨ Bath Bomb Method
1) Prep
- Wear gloves and mask to avoid breathing in powders. Make this kit in a well ventilated area (under an extraction fan).
- Set out your moulds, a mixing bowl, and your spray bottle filled with water.
- Ensure the room is dry and has low humidity for best results.
2) Mix the Dry Ingredients
- In a large bowl, combine:
- Bicarb Soda
- Citric Acid
- Clay
- Stir well to evenly combine all powders. Use your hands as well as a spoon/whisk to combine.
Optional: Add a small amount of your chosen colour to the dry mix and blend thoroughly until even.
3) Blend the Oils
- In a separate small bowl/beaker, blend / mix together the following:
- Your carrier oils
- 5–18 drops of your chosen essential oil
- Important: Start with less Essential Oil, and smell to check the strength. Be sure to blend Essential Oil into the Carrier Oil, do not add Essential Oil straight to the powder. Do not exceed 6 drops per bath bomb / 120g of mixture. Higher levels of Essential Oil may cause a reaction to sensitive skin.
- Pour this oil mixture slowly into the dry ingredients while stirring to evenly distribute. Ensure the oil is fully blended into the powder. Use your hands as well as a spoon/whisk to combine.
4) Hydrate the Mix
- Lightly mist the mixture with water using your spray bottle, mixing continuously. Add water in small spritzes only to avoid activating the fizz. If there is some activation, quickly blend that area of the mixture in. Use your hands as well as a spoon/whisk to combine.
- Test by squeezing a handful of mixture — it should hold its shape without crumbling or fizzing and should remain dry to the touch. Mix with your hands until the mixture forms a ‘kinetic sand’ or perfect ‘sand castle’ type consistency.
5) Add Botanicals (Optional)
Two ways to incorporate botanicals:
- Mixed-In: Fold in 1–2 teaspoons per bomb of your botanicals before moulding.
- Surface Decoration: Place a small pinch of petals into one half of the mould before packing in the mixture. This creates a decorative top when the bomb is released.
Pro Tip: Use finely ground petals for a drain-safe option, or ensure you catch most petals before they drain.
6) Mould Your Bath Bombs
- Loosely overfill each half of the 120g mould with the mixture.
- Press together firmly, then lightly tap the mould to release the bomb.
- Place the bombs on a lined tray or clean surface to dry.
7) Dry & Store
- Let the bath bombs dry at room temperature for 24 hours, until completely hard.
- Store in airtight containers or bags to protect from moisture until use.
✨ Usage
- Drop one bath bomb into warm bath water.
- Allow to fizz and disperse before stepping in.
- Enjoy the aroma and skin-softening benefits.
❓ Troubleshooting Your Bath Bombs
Bombs crumble or won’t hold shape
→ Mixture is too dry. Add a tiny mist of water (one spritz at a time) and remix. It should feel like damp sand and hold together when squeezed.
Bombs expand or fizz while moulding
→ Too much water added at once. Always mist lightly and mix quickly. If a patch starts fizzing, blend it in immediately.
Bombs won’t come out of the mould cleanly
→ Mix is either too wet or too dry. If it sticks, dust mould with a little bicarb before pressing. If it crumbles, add one more light spritz of water.
Bombs crack after drying
→ Mixture was packed too loosely or dried too quickly. Press firmly into moulds and let them dry at room temperature (avoid direct heat or strong airflow).
Bombs stay soft or don’t harden
→ Room may be humid, or too much oil was added. Allow an extra 24–48 hours to dry in a cool, dry place. Use a dehumidifier or silica gel packs if your climate is very humid.
Bombs develop spots or discolouration
→ Essential oils, botanicals, or moisture caused reaction spots. Use clean, dry botanicals only and always store bombs in airtight containers.
Fizz is weak in the bath
→ Too much oil, clay, or water added. Adjust ratios in your next batch to keep the mix lighter and drier.